CentOS6.7網卡ip配置
CentOS6.7網卡ip配置
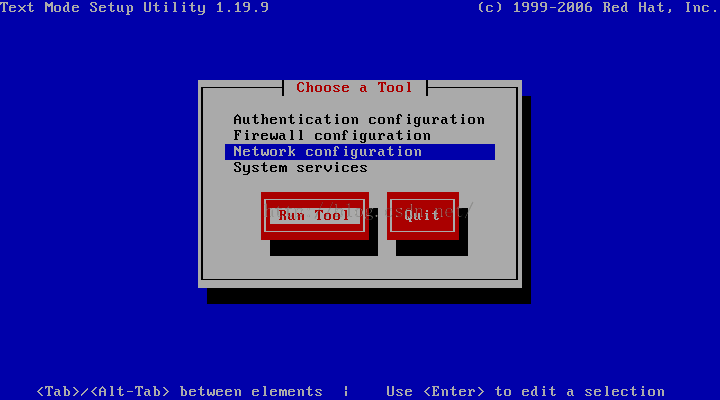
1.登陸系統後輸入setup命令

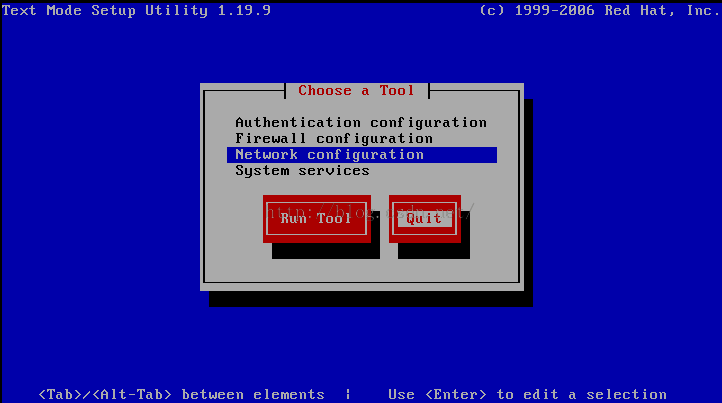
2.選中Networkconfiguration,按下Run Tool
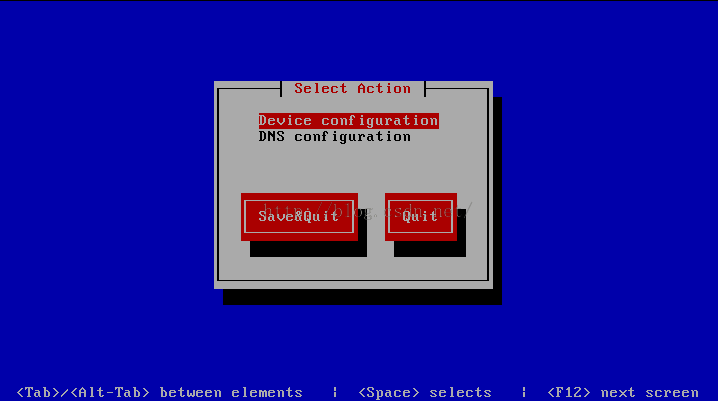
3.選中Device configuration,直接回車,不要按下Save&Quit或Quit
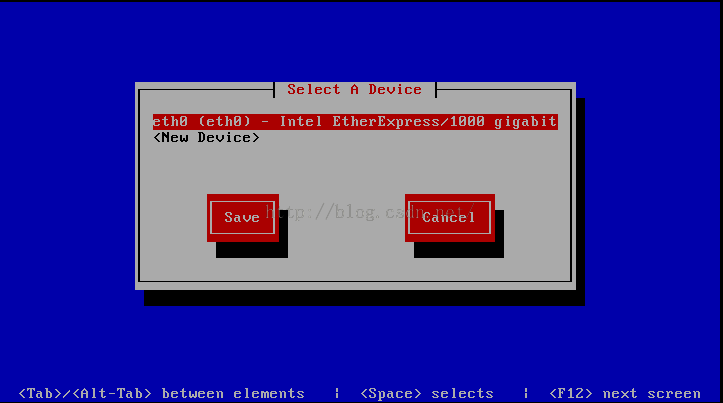
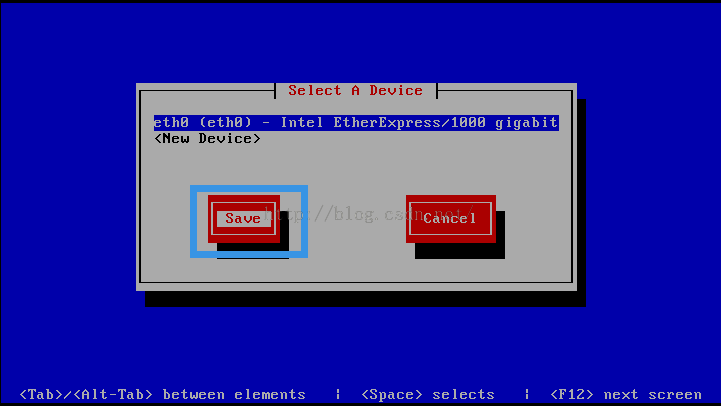
4.此處有一塊網卡eth0,我們直接回車
5.選中Use DHCP讓其自動分配ip地址,dns可以配置可以不配置。之後點擊OK

6.點擊Save
7.選中Save&Quit
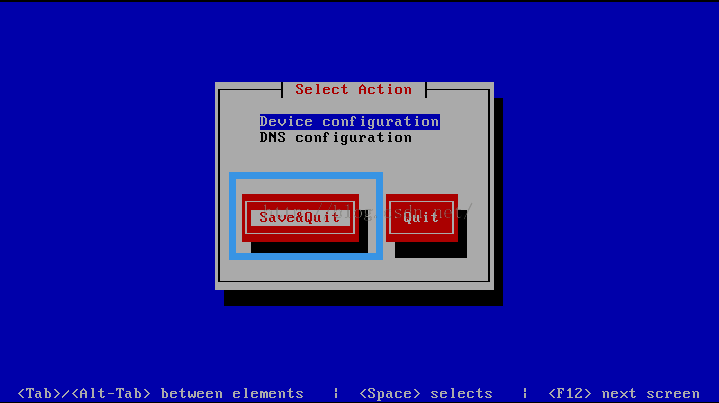
8.選中Quit,退出
9.此時網卡配置完成,我們需要啟動網卡。
命令行輸入ifup eth0,會啟動eth0這塊網卡。提示done表示啟動成功。輸入ifconfig可以查看獲取到的ip。用其他主機ping一下獲取到的ip看能否ping通。
10.配置網卡開機自啟動。
cat/etc/sysconfig/network-scripts/ifcfg-eth0可以查看配置文件中的開機是否自啟動。
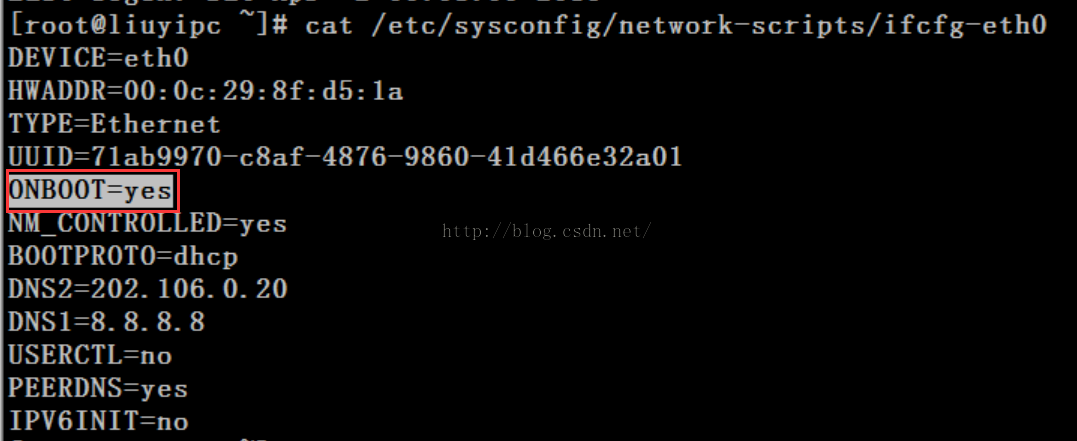
ONBOOT如果等於no,則我們需要改為yes。
可以執行下面的sed替換命令將文件中的ONBOOT=no替換為ONBOOT=yes
set -i 's#ONBOOT=no#ONBOOT=yes#g'/etc/sysconfig/network-scripts/ifcfg-eth0
配置完之後,網卡就會開機自啟動了。
http://xxxxxx/Linuxjc/1134173.html TechArticle


