From link.
By Suresh Kumar Parvathaneni
This document details about creation of a container element in workflow and using it in the step "Mail".
Pre-requisites:
It is assumed that the reader of this Tutorial is aware of creating a workflow definition with the step “Mail”. If not, please go through the document on creating the same available, by clicking here.
Steps:
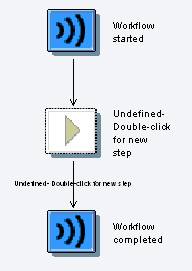
1. Create a workflow definition using the transaction SWDD.

2. Let’s create a container element for Carrier id. Click on the “Workflow Container” on the left side of the screen (as shown in the screenshot below):

3. Now double-click on “Double-Click to Create”

4. Enter the details pertaining to CARRID here.

5. Click on tab “Properties” and select “Import”.

6. Click on “Confirm (Enter)”.
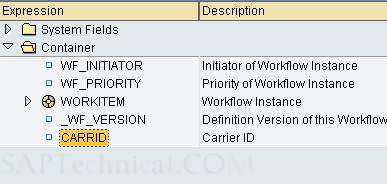
7. Now the element created could be seen on the left side, below the “Workflow Container”.

1. Create a “Mail” step by double-clicking on “Undefined” step in the workflow.

2. Enter the recipient details in the “Recipients” box.
3. In the subject line, enter “Carrid value entered is:” and click on “Insert Expression”.

4. Select the element “Carrid” from the list.


5. Similarly enter the content in the “Body” area.

6. Save and activate the application.
Testing the Workflow application:
7. Test the workflow by clicking F8.

8. Enter the value of the Carrid as shown above and press execute.
9. A mail would be sent to the recipient mentioned earlier with the carrid value entered.


